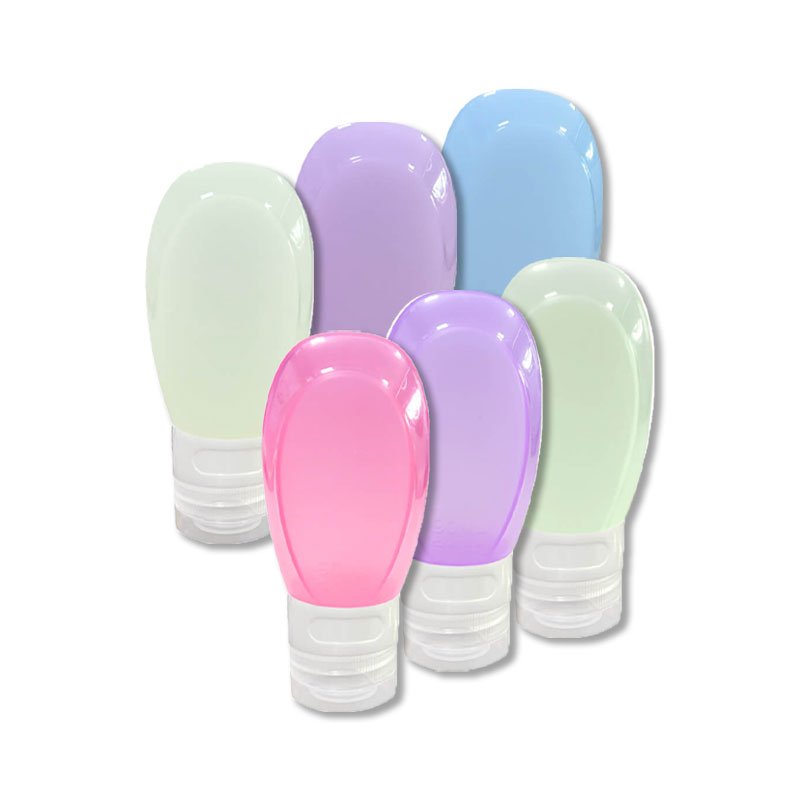
Silicone compression molding is a cost-effective, versatile manufacturing process widely used to produce high-quality custom silicone rubber parts, from custom silicone stickers and gaskets to seals, kitchenware, and medical components. As a foundational molding technique for high-temperature vulcanization (HCR) silicone, it balances simplicity, durability, and scalability. Making it ideal for small-to-medium production runs and thick-walled, robust silicone products.
As one of the most mature silicone processing techniques, it is highly searched by engineers, product designers, and procurement specialists looking for reliable solutions for custom silicone rubber parts, high-temperature silicone components, and food-grade silicone products.
At Silixonexy (Xinyin), a professional custom silicone products manufacturer with 20+ years of experience, we specialize in precision silicone compression molding. Our in-house mold design, FDA/LFGB-certified materials, and strict quality control ensure reliable, compliant results for diverse applications. This guide breaks down the silicone compression molding process step by step to clarify how we transform raw silicone into finished products.
What Is Silicone Compression Molding?
Silicone compression molding (also known as silicone rubber compression molding or vulcanization molding) is a thermoset manufacturing process that produces finished parts by shaping uncured silicone within a custom-designed, closed mold cavity under conditions of controlled high temperature and pressure.
While silicone injection molding involves injecting material into a sealed mold, compression molding entails placing a pre-measured charge of silicone directly into a heated, open mold, which is then closed and compressed to form the part.
Unlike injection molding, silicone compression molding does not require a complex gating system. This results in lower tooling costs and facilitates easier production for small to medium-sized batches. This process utilizes HCR silicone (solid silicone rubber), to which curing agents, pigments, and functional additives are added to meet specific performance requirements.
How to Transform Raw Silicone Into Finished Products?
Silicone Compression Molding Process:
The silicone compression molding process follows a fixed sequence: mold preparation and preheating, material preparation and weighing, loading the material into the open mold, curing under high temperature and pressure, demolding, and post-processing (including trimming and inspection). While each step is interconnected, the accuracy of material measurement and mold preparation directly impacts the quality of the final product.
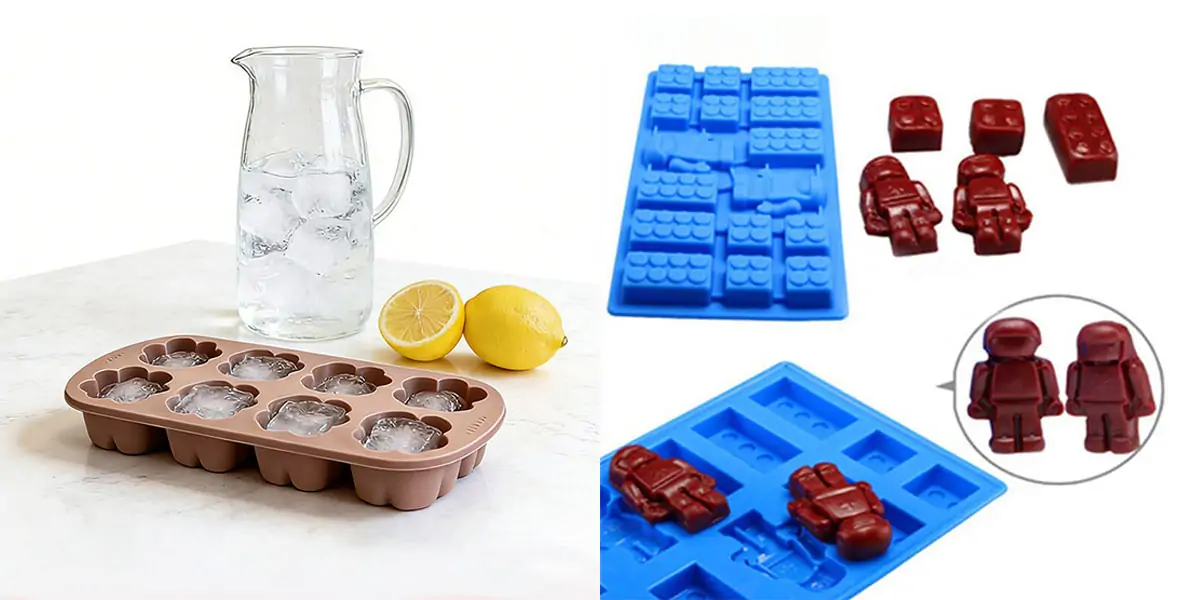
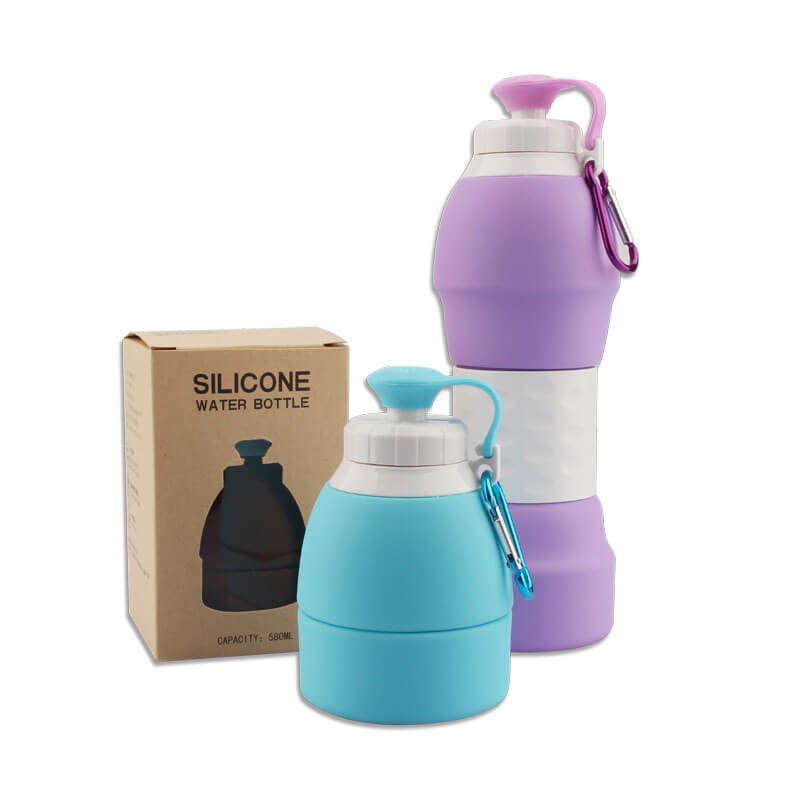
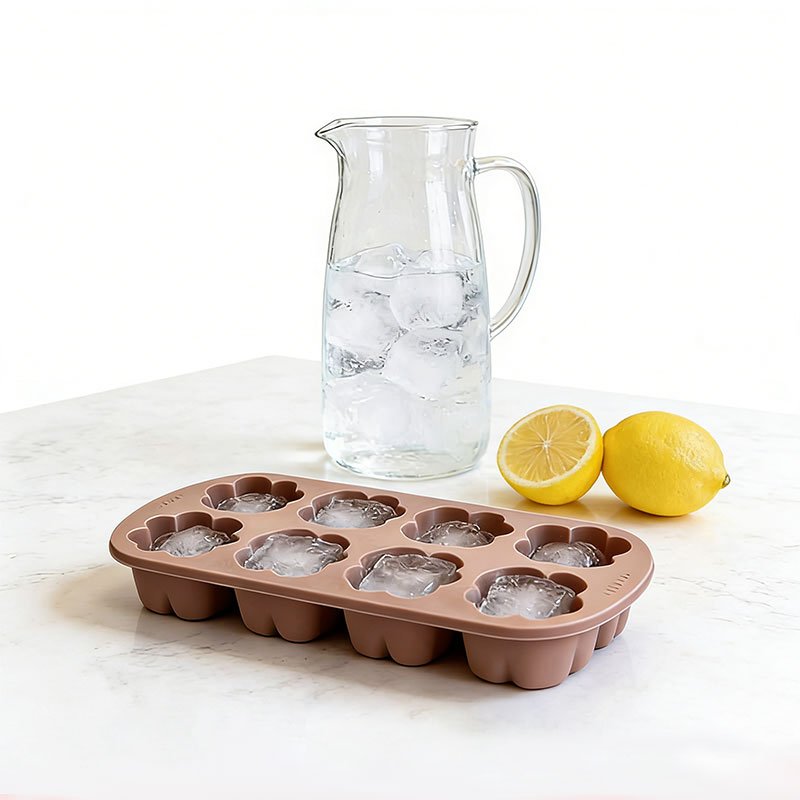
This process is particularly well-suited for manufacturing silicone rubber gaskets, seals, protective keypads, shock absorbers, silicone kitchenware, FDA-compliant silicone baking molds, food-grade spatulas, and custom silicone components for electronic enclosures, industrial seals, and medical device assemblies.
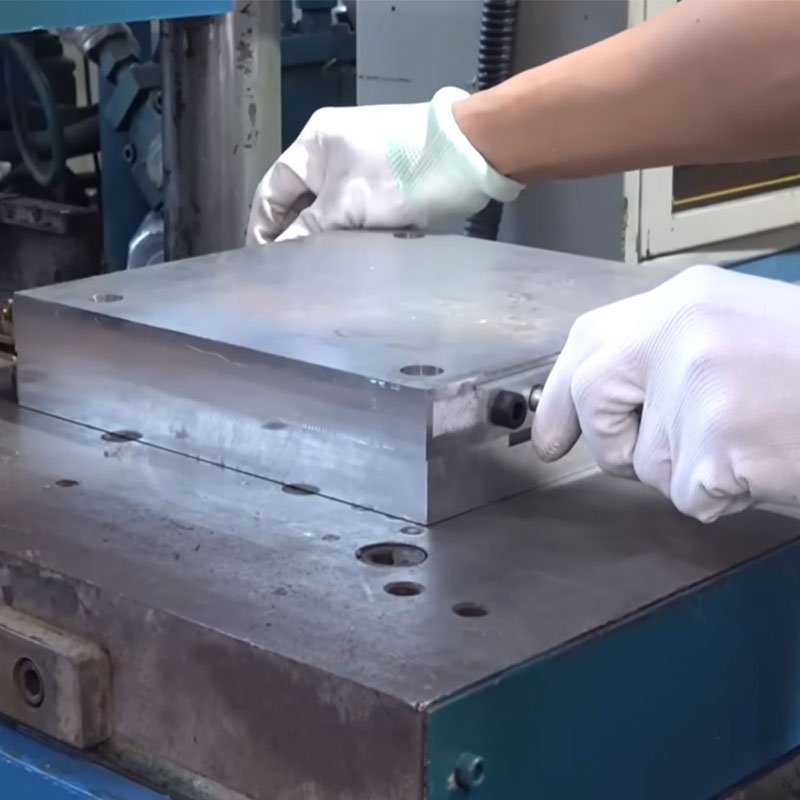
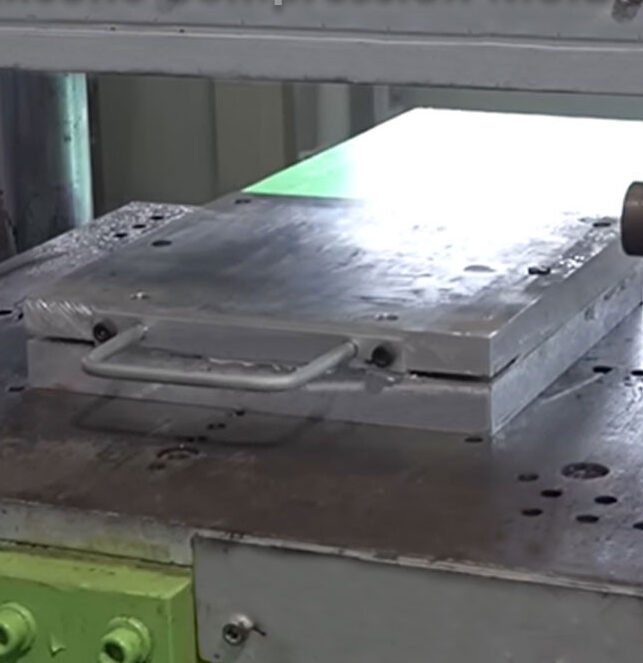
Step 1: Mold Design and Fabrication
The process begins with precision mold design, the foundation of consistent part quality. Compression molds are usually crafted from high-grade steel or aluminum (aluminum for low-volume, steel for high-volume runs) and feature single or multiple cavities to match product dimensions. The mold defines every contour, cavity, and dimension of the finished silicone part.
Mold design is conducted based on a Design for Manufacturability (DFM) review. Prior to mold fabrication, various factors must be thoroughly evaluated. Including wall thickness uniformity, chamfer feasibility, ejection paths, parting line placement, and anticipated shrinkage rates. This preliminary engineering phase is critical; once the mold has been machined, any subsequent modifications would necessitate extensive rework.
For prototype molds, which can be manufactured via CNC machining or 3D printing. The typical lead time for simpler designs ranges from 7 to 20 days. However, depending on the level of complexity and the depth of validation required, high-precision molds intended for mass production typically take between 20 and 45 days to complete.
Mold design directly affects the part’s accuracy, production efficiency, and cost. Key considerations include:
- Cavity geometry: Must match the exact dimensions of the final part, with allowances for silicone’s typical 2-4% shrinkage rate.
- Venting channels: Critical to release trapped air during compression, preventing defects like voids and bubbles.
- Ejection system: Ensures easy removal of the finished part without damage.
- Material: Molds are usually made of tool steel or aluminum, with steel offering longer lifespan and aluminum providing faster heat transfer.
Before production, the mold is thoroughly cleaned and treated with a release agent to prevent the silicone from sticking. It is then preheated to the recommended temperature (typically 150-200°C / 300-390°F) to ensure consistent curing.
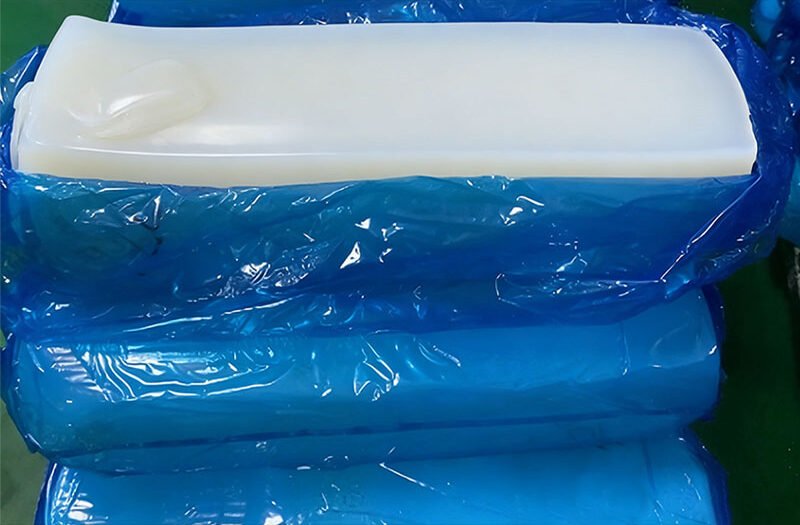
Step 2: Raw Material Selection and Preparation
Solid silicone rubber for compression molding is typically purchased in block form, often a milky-white or translucent material depending on the specific grade.
Sub-Steps:
- Material Selection: Choose peroxide-cured (general use, cost-effective) or platinum-cured (medical/food-grade, superior biocompatibility) silicone based on application needs.
- Compounding: Mix raw silicone with curing agents (1–2% for peroxide), color pigments, and functional additives (e.g., flame retardants, oil resistance) using an open mill or internal mixer.
- Mixing time: 5–10 minutes at room temperature to ensure uniform dispersion (no agglomeration = consistent curing).
- Preforming: Calender the mixed silicone into 2–5 mm thick sheets, then cut and weigh preforms to match the exact volume of each mold cavity.
- Precision weighing (±0.5 g) prevents defects: insufficient material causes voids; excess leads to heavy flash (waste).
The foundation of a successful silicone compression molding project lies in choosing the right silicone raw material, which depends on the part’s intended application:
- Food-grade silicone: Ideal for kitchenware, baby products, and medical devices, meeting FDA standards.
- High-temperature silicone: Resists temperatures up to 315°C (600°F), suitable for automotive underhood components and industrial seals.
- Low-temperature silicone: Remains flexible at -60°C (-76°F), perfect for outdoor and aerospace applications.
- Liquid silicone rubber (LSR): Offers exceptional precision for intricate parts, though solid silicone is more common in compression molding.
Once the material is selected, it is weighed and cut into preforms (also called “charges”) that match the volume of the final part. This reduces waste and ensures uniform filling of the mold cavity.
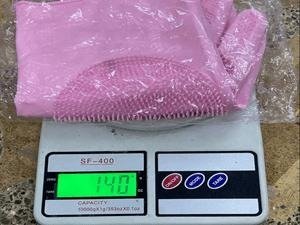
Step 3: Material Weighing
Upon completion of the cutting process, each silicone preform is individually weighed to ensure that a precise amount of material is placed into each mold cavity. The precision exercised at this stage directly determines the quality of the final product. An excess of material results in surplus silicone extruding from the mold, creating flash that requires manual trimming and leads to material waste. Conversely, insufficient material results in incomplete cavity filling, thereby yielding defective products.
In the case of multi-cavity molds, the operator must supply each cavity with a precisely weighed and properly positioned preform. When executed correctly, the dimensions of each preform are optimized to minimize flash while simultaneously ensuring that the cavity is completely filled.
Step 4: Mold Preheating
Before any silicone material enters the mold, the mold itself must be heated to the required curing temperature. This is crucial for maintaining consistent quality during the mass production of custom silicone stickers. Preheating ensures that the curing process proceeds uniformly and helps shorten production cycles.
For silicone compression molding, the mold is typically heated to a temperature between 160°C and 200°C. This temperature range triggers the vulcanization reaction the moment the silicone comes into contact with the mold surface.
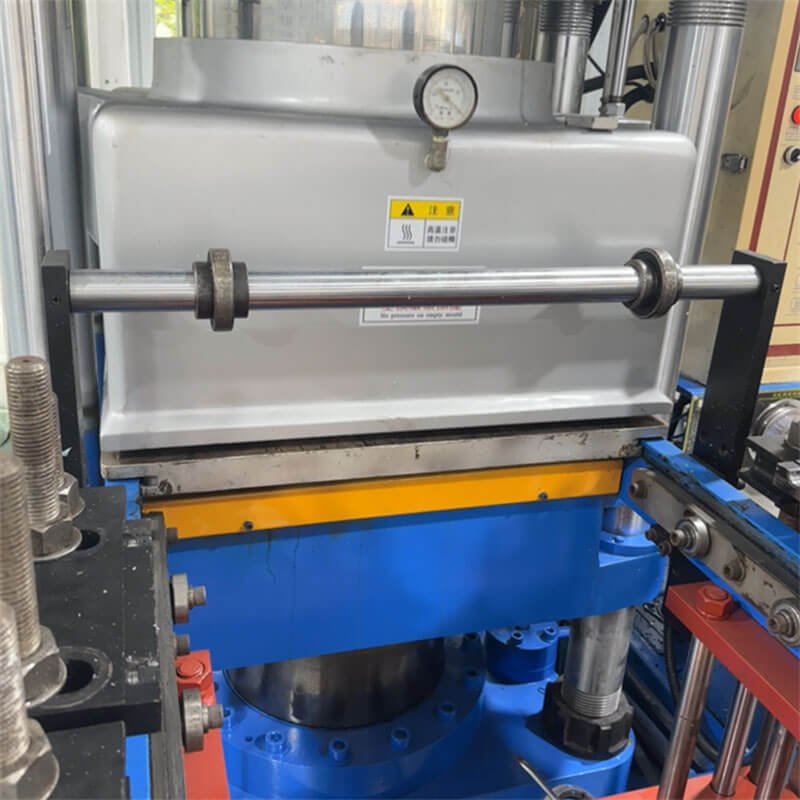
The mold is typically mounted in a hydraulic compression press with capacities ranging from 50 to 500 tons, equipped with precise temperature control systems to maintain consistent heat distribution across the cavity. Even heat distribution is essential to avoid localized under-curing or surface defects.
Key Parameters:
- Temperature: Preheat molds to 160–200°C (peroxide-cured: 165–180°C; platinum-cured: 120–150°C). The type of silicone material being processed influences the exact temperature setting. High-consistency rubber (HCR) is a solid silicone that requires heat to cure, whereas liquid silicone rubber (LSR) can also be compression molded but requires more controlled mold design to manage material flow.
- Cleaning: Remove dust, oil, or residual silicone from cavities to avoid surface blemishes or adhesion issues.
- Release Agent: Apply a food-grade release agent (if needed) to facilitate easy demolding, especially for complex silicone sticker designs.
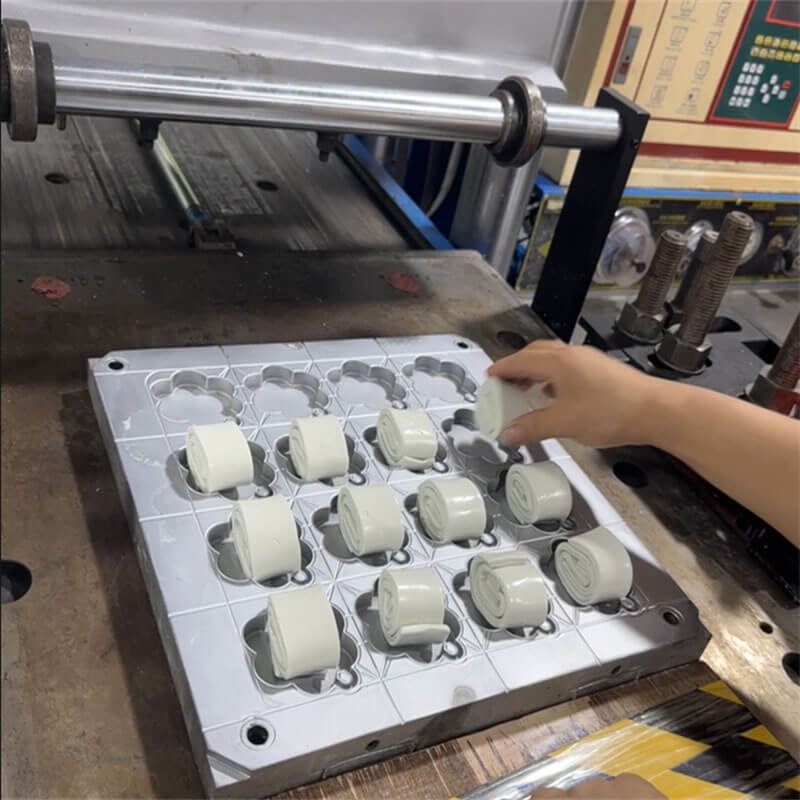
Step 5: Loading the Silicone Charge into the Mold
The preheated mold is opened, and the weighed silicone preform is placed into the lower mold cavity. Positioning must be centered and uniform to promote even material flow during compression.
- The mold is closed, and a hydraulic press applies pressure (usually 10-50 MPa / 1,450-7,250 PSI) to compress the silicone, forcing it to fill every corner of the cavity.
- The pressure is maintained for the duration of the curing cycle, which varies based on the silicone type and part thickness (typically 1-10 minutes).
This step requires precise control of pressure and temperature to ensure uniform curing and avoid defects like flash (excess silicone around the part edges).
Step 6: Mold Closure and Compression
Once the silicone charge is in place, the top half of the mold closes, applying pressure that forces the material to fill every contour of the cavity. Typical compression pressures range from 5 to 20 MPa depending on the material and mold design.
Pressure application is not instantaneous. The mold closes gradually, allowing trapped air to escape before the material fully compresses. This is especially important for thick-section parts where air entrapment can cause voids. The compression step is followed immediately by the curing stage, where the part remains under both heat and pressure for a set duration.
Step 7: Curing (Vulcanization) and Cooling
Curing is the chemical process in which heat and pressure cross-link the silicone polymer chains, transforming the material from a pliable rubber compound into a solid, dimensionally stable part.
Curing time depends primarily on part thickness and material formulation, typically ranging from 5 to 15 minutes. Thicker sections require longer curing times to ensure complete vulcanization throughout the part thickness. Inadequate curing can result in soft centers, poor mechanical properties, or surface defects.
- Standard silicone: Cures at 175°C (350°F) for 2-5 minutes.
- High-performance silicone: May require higher temperatures (up to 200°C / 390°F) and longer curing times (5-10 minutes).
During the curing stage, the material undergoes thermosetting cross-linking. Unlike thermoplastics, which can be reheated and reformed, thermoset silicone undergoes an irreversible chemical change. Once fully cured, it cannot be melted or reshaped, which is why accurate mold design and process control are essential.
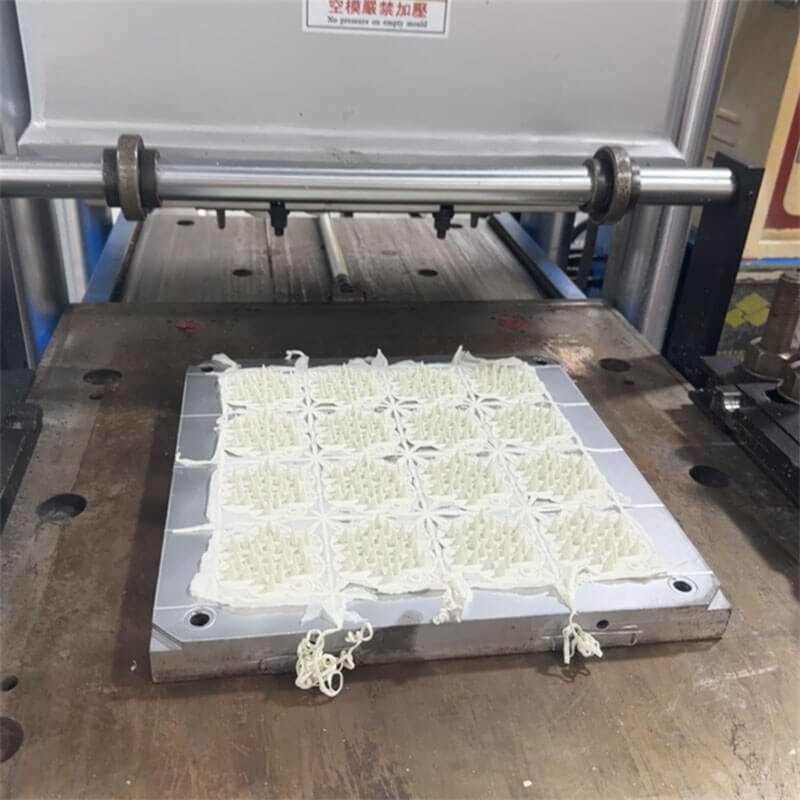
Step 8: Demolding and Trimming
Once curing is complete, the mold opens, and the finished parts are removed carefully to avoid damage. Demolding requires care to avoid stretching, tearing, or damaging the part, particularly for components with thin walls, complex geometries, or delicate features.
Mold design heavily influences demolding difficulty. Proper draft angles (typically a minimum of about 1° on vertical walls) allow the part to release cleanly from the cavity. Parts designed without adequate draft or with aggressive undercuts may require multi-piece molds or manual extraction techniques.
During compression, some excess silicone inevitably squeezes out between the mold halves along the parting line, forming a thin layer of waste material called flash. After demolding, this flash must be removed—a process called de-flashing. The amount of flash generated is directly related to preform weighing accuracy and mold closure precision. Optimized preform dimensions and well-maintained mold closure can significantly reduce flash and the associated manual labor.
Process:
- Mold Opening: The hydraulic press retracts, separating the upper and lower mold halves.
- Part Ejection: Ejection pins push parts out of the cavities; for delicate silicone stickers, operators may manually remove parts to prevent tearing.
- Flash Removal: Trim excess material (flash) from part edges using precision tools or automated deflashing equipment—critical for clean, professional-looking silicone stickers.
Step 9: Post-Curing (Optional but Recommended)
Some high-performance silicone applications require post-curing: treating the molded part in an oven at elevated temperatures for an extended period after initial molding. For high-performance applications (medical, food-grade, or outdoor silicone stickers), post-curing enhances material properties and removes residual volatiles.
Details:
- Process: Place demolded parts in a convection oven at 200°C for 2–4 hours.
- Benefits: Improves thermal stability, reduces shrinkage, eliminates odors, and ensures compliance with FDA/LFGB standards—critical for food-contact or medical silicone products.
Post-curing is not always necessary. The decision depends on the application requirements. However, for components expected to perform under sustained heat, pressure cycling, or chemical exposure, post-curing is often specified.
Do you need custom-molded silicone products? Contact our engineers.
Step 10: Quality Control and Inspection
Every molded part undergoes visual and dimensional inspection before being released. Quality control typically includes checks for:
- Surface defects: Dirt contamination, missing edges, material shortage, cracking, or surface abnormalities.
- Dimensional accuracy: Verification against print tolerances to ensure conformance.
- Functional testing: For sealing components, compression tests or leak checks may be performed.
- Flash removal completeness: Ensuring all de-flashing has been properly executed.
- Visual Inspection: Check for surface defects (bubbles, scratches, discoloration), incomplete curing, or torn edges.
- Compliance Verification: Confirm FDA/LFGB certification for food/medical-grade products.
For suppliers operating under ISO 9001 certification, quality control processes are documented, traceable, and subject to periodic audit. Rejected parts that fail inspection are treated as waste and cannot be used. Silicone parts cannot simply be recycled or reground like thermoplastics, making accurate process control essential to minimizing scrap rates.
Step 11: Final Packaging and Shipment
Finishing:
- Cleaning: Remove dust or debris using compressed air or food-grade cleaners.
- Packaging: Package finished silicone stickers in clean, moisture-resistant materials to prevent damage during shipping.
Approved parts are cleaned, packaged according to customer specifications, and prepared for shipment. Depending on the application parts may be individually bagged or bulk-packed to prevent contamination during transit.
Proper packaging documentation accompanies each shipment, including batch traceability information, material certificates, and inspection reports when requested by the customer.
Packaging options include:
- Plastic bags or containers: For small parts, with desiccants to absorb moisture.
- Foam inserts: For delicate or high-value parts, providing cushioning during transit.
- Custom packaging: With labels indicating part number, material specifications, and inspection dates.
The finished parts are then delivered to the customer, ready for assembly or direct use in their products.

Key Advantages of Silicone Compression Molding
- Cost-effective: Low tooling costs compared to injection molding, making it ideal for small to medium production runs.
- Versatile: Can produce parts with complex geometries, thick walls, and varying hardness levels.
- Consistent quality: Uniform pressure and temperature control ensure consistent part dimensions and properties.
- Eco-friendly: Minimal material waste, as excess silicone can be recycled and reused.
Applications of Silicone Compression Molding
Silicone compression molding is used across multiple industries. The following table organizes common applications by sector:
| Industry | Typical Products |
|---|---|
| Automotive & Transportation | Engine seals, vibration dampers, grommets, etc. |
| Medical Devices | Syringe stoppers, respiratory masks, cushion pads, etc. |
| Food & Beverage (FDA-grade) | Baking molds, spatulas, kitchenware seals, etc. |
| Electronics & Consumer Goods | Keypads, protective covers, phone cases, etc. |
| Industrial Equipment | O-rings, custom gaskets, isolation bumpers, etc. |
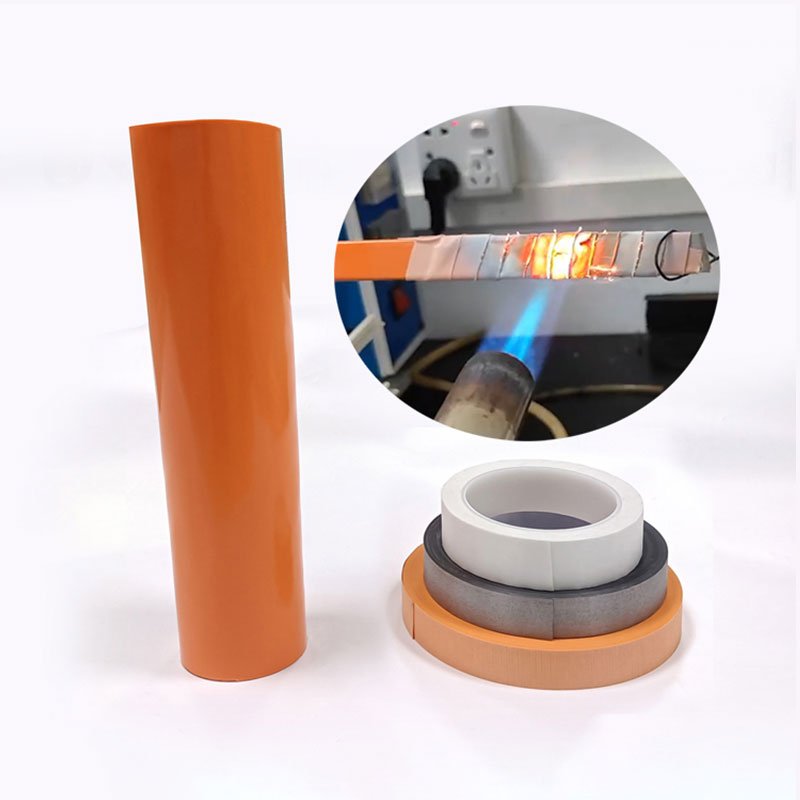
For applications requiring heat-resistant silicone rubber gaskets, compression molding is a standard processing method capable of handling silicone compounds with service temperature ranges extending from -60°C to 250°C.
Food-contact applications require FDA-grade silicone materials and proper processing controls to ensure compliance. Many silicone compressors, including our own facilities, maintain FDA-approved protocols for kitchenware and food-contact component production.
If you’re looking for a reliable partner for your custom silicone compression molding needs, our team of experts can help you navigate every step of the process, from material selection to final delivery. We specialize in producing high-quality, custom silicone parts that meet the most demanding industry standards.
Common Challenges & Solutions
- Voids or bubbles: Caused by trapped air; solve by adding more venting channels or reducing the compression speed.
- Flash excess: Caused by insufficient mold clamping force or worn mold edges; solve by increasing pressure or repairing the mold.
- Incomplete curing: Caused by low temperature or insufficient curing time; solve by adjusting the curing parameters based on material specifications.
- Part warping: Caused by uneven cooling; solve by using a controlled cooling process or adding support structures to the part design.
Conclusion
Silicone compression molding is a mature and cost-effective process suitable for the small-to-medium batch production of custom silicone parts. It is particularly well-suited for applications involving relatively simple geometries, thicker cross-sections, and scenarios where high part strength is required without the need for expensive injection molds.
The process follows a clear and repeatable workflow: mold fabrication and preheating, material mixing and weighing, mold loading, compression and curing, demolding, trimming, inspection, and packaging. When executed correctly, compression molding yields high-quality silicone parts characterized by dimensional consistency, excellent surface finish, and reliable performance.
Silicone Injection Molding Vs Compression Molding: Which Is Better For Your Project? The choice between compression molding and injection molding should be determined based on factors such as projected annual production volume, part complexity, tooling budget, and scheduling requirements. Compression molding offers distinct advantages, including lower initial costs, shorter mold production lead times, and reliable product quality.
If you are developing a new silicone product, or need to find a manufacturing partner for your custom silicone components, please contact us to discuss your project requirements and obtain a tooling quote based on your specific part geometry and production volume needs.