How To Create Private Silicone Trays? A Full Factory Production Workflow For Brand Owners.
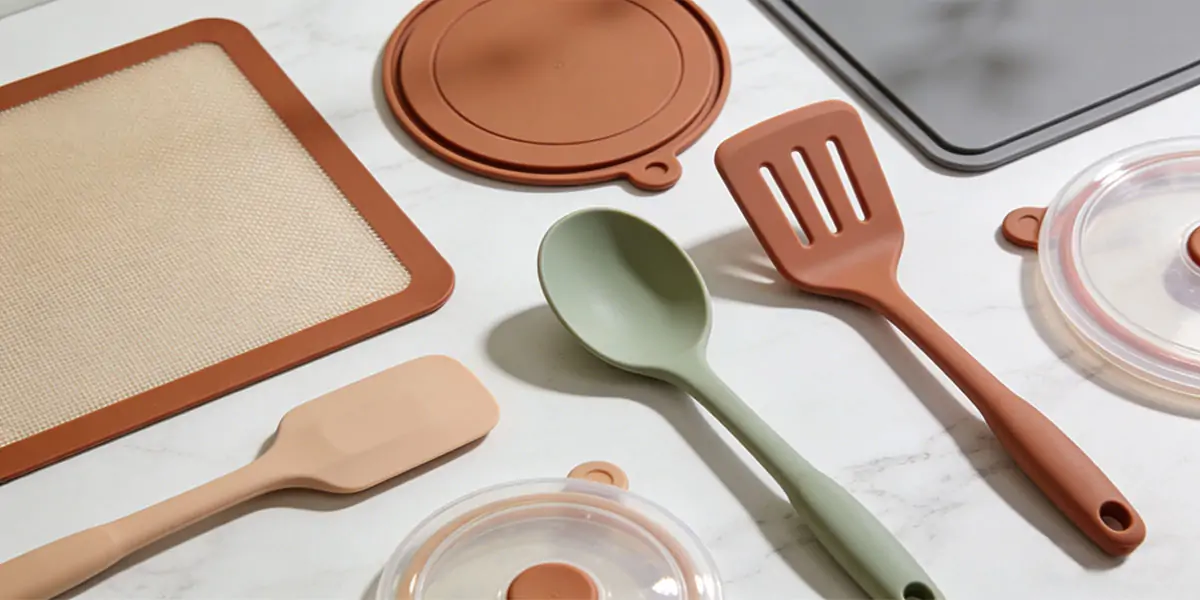
Silicone trays are essential in kitchens, food storage, and industrial applications. Their flexibility, heat resistance (typically ranging from -40°C to 230°C), and non-stick surface make them a popular choice for ice cube trays, baking mats, candy molds, and other food-contact products.
Siliconexy supports ODM/OEM customization services. We are dedicated to helping businesses launch their own branded silicone tray lines, giving brands complete control over product shape, color, branding, material safety, and retail positioning.
Private label silicone trays offer a practical way for brands to introduce custom-designed products without investing in in-house manufacturing facilities. Whether you’re selling silicone ice cube trays, baking molds, baby food trays, soap dishes, drip trays, or pet feeding mats. As a one-stop silicone manufacturer with 20 years of customization experience, Siliconexy provides importers, Amazon sellers, home furnishing brands, and wholesale distributors with a reliable production guide.
Creating private silicone trays involves a structured manufacturing process that transforms raw silicone rubber into finished goods. From product design and mold development, silicone molding technology to material selection, production, quality control, and shipping, this guide details each step, helping you understand every aspect of working with a custom silicone products manufacturer.
What Are Private Silicone Trays?
A private silicone tray is manufactured by a factory but sold under your own brand name. You retain control over design specifications, including size, shape, color, material grade, logo placement, and packaging. While the factory handles production using its existing capabilities and equipment. Customization options typically include product logo, packaging, color, material, size, bundle configuration, instruction manual, barcode, carton marking, and even product features depending on order quantity and factory capability.
Create Private Silicone Trays: The Manufacturing Process Step by Step
The process begins with defining your product requirements. Before proceeding with bulk customization of products, you need to clarify your silicone tray requirements. For example, applications may include baking, food storage, handicrafts, or industrial use. This will determine the choice of materials, durability requirements, and design constraints.
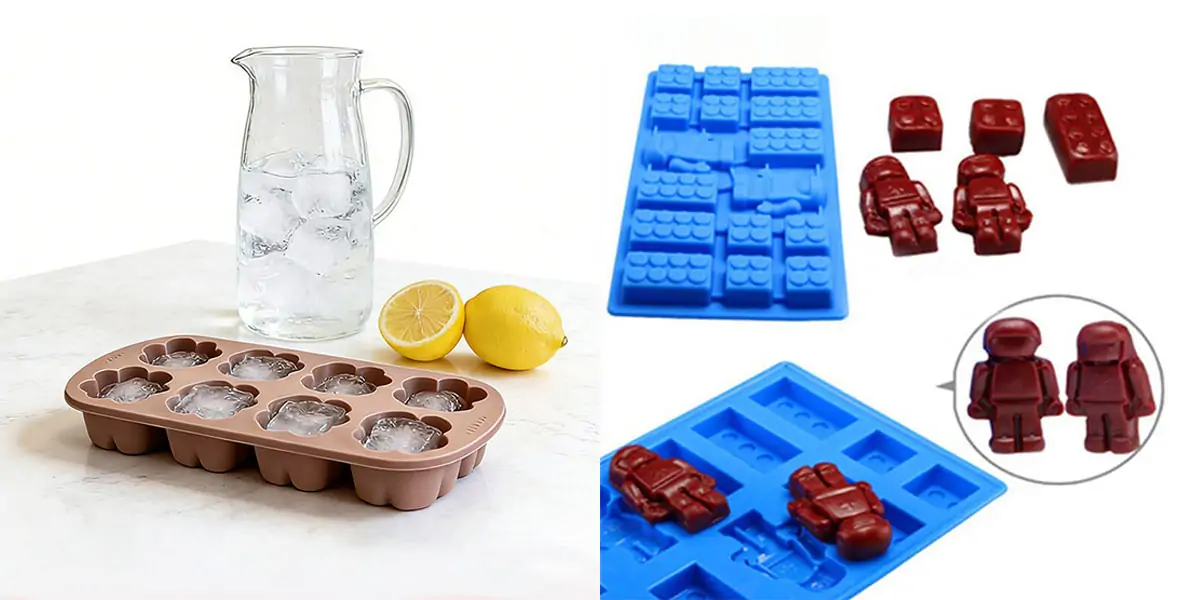
- Kitchen: silicone ice cube trays, baking trays, loaf molds, sink drip trays
- Home & Bathroom: silicone soap trays, cosmetic storage trays
- Baby Care: food freezing trays, feeding suction trays
- Pet Supplies: lick mats, treat baking molds
- Industrial/Promotional: custom compartment silicone organizer trays
Step 1: Design Concept and Technical Specifications
The first stage in creating a custom silicone tray is turning your concept into a manufacturable design. This typically begins with creating 3D CAD models that define the tray’s dimensions, geometry, and functional features. Most manufacturers accept design files in common formats such as 2D drawings, 3D models (IGS, STP, CAD, or similar formats), or physical samples.
Key design considerations include:
- Draft angles. Vertical walls require draft angles (typically 1° to 3°) to allow the finished silicone part to be removed from the mold without tearing or distortion.
- Wall thickness. Uniform wall thickness is critical for consistent curing and material flow. Minimum wall thickness for silicone parts is generally around 0.5 mm.
- Parting line location. The parting line is where the two halves of the mold meet. Proper placement helps control flash (excess material that seeps out of the mold cavity) and simplifies post-production deflashing.
- Undercuts. Features that create undercuts may require additional mold actions (such as slides or lifters), which increase tooling complexity and cost.
Most reputable silicone manufacturers offer Design for Manufacturability (DFM) feedback before mold fabrication begins. A DFM review identifies potential production issues (such as inadequate draft angles, problematic wall thickness variations, or difficult-to-mold features) and suggests adjustments that improve moldability without compromising the product’s intended function.
Once the design is finalized, the manufacturer creates the mold tooling. Molds are typically machined from steel (such as P20 or H13) or aluminum, depending on the expected production volume and required precision.
Design Engineering & Feasibility Review (OEM/ODM Design Support)
Siliconexy provides two design workflows for private silicone tray projects, transparent for all brand buyers:
1. ODM: Modify Existing Silicone Tray Templates
We maintain a library of hundreds of mature silicone tray molds. You adjust cavity shapes, colors, add brand logos and swap packaging without full new mold charges. Ideal for brands with limited development budgets and fast time-to-market needs.
2. OEM: Fully Custom Original Tray Design
If you have unique proprietary shapes, submit: Hand-drawn sketches, reference product photos, or 2D CAD / 3D STP files.
We share revised technical drawings for your written confirmation before any tooling starts.
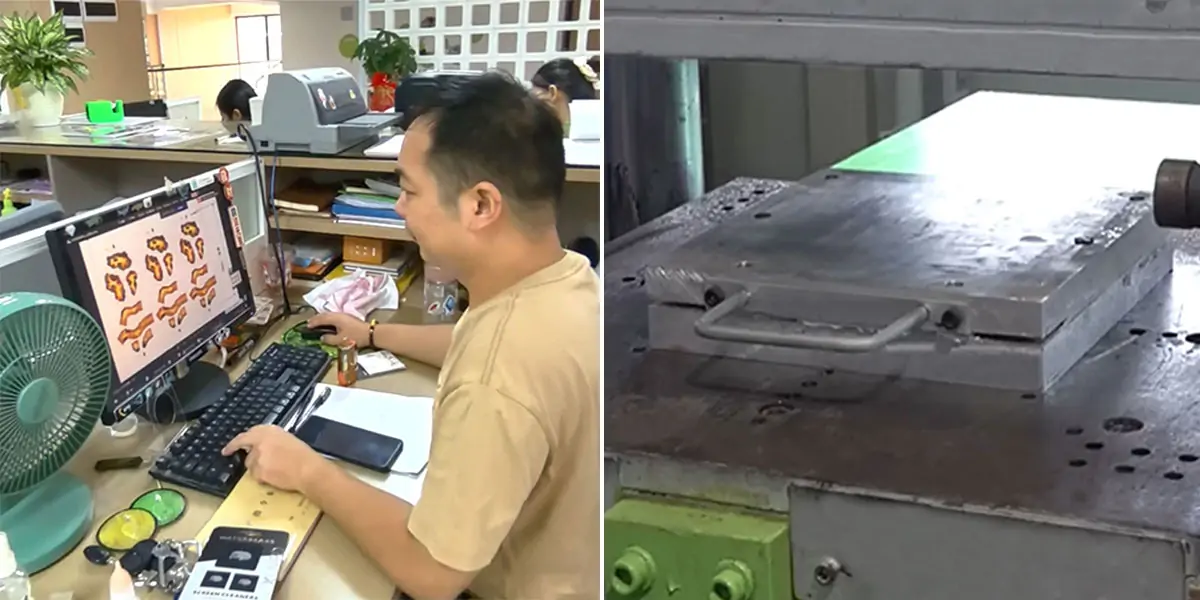
Step 2: Mold Development and Tooling
The mold often called “tooling”, is the precision metal cavity that shapes the silicone during production. Mold fabrication is typically the longest single lead-time item in the custom manufacturing process.
Mold development is the most significant upfront investment in custom silicone tray production. The mold (typically made from tool-grade steel or aluminum) determines the dimensional accuracy, surface finish, and production consistency of every tray.
Typical tooling timelines:
- Prototype tooling (soft tooling for sampling): Approximately 5–7 days for simple designs.
- Mass production tooling (hardened steel molds for long-run production): Approximately 8–10 days for fabrication, followed by 2–3 days for sample making from the new mold.
- Total mold development time, including DFM review, design adjustments, machining, and first sample validation, generally ranges from 7 to 14 days depending on part complexity.
Molds are designed with multiple cavities when high production volumes are required. A multi-cavity mold produces several trays in each production cycle, reducing per-unit manufacturing time. However, multi-cavity molds have higher upfront tooling costs and require more precise machining.
Proper mold maintenance extends mold life. Including regular cleaning, inspection for wear, and occasional re-polishing of cavity surfaces. A well-maintained steel mold can typically produce hundreds of thousands of cycles before requiring replacement.
The tooling process involves:
- Mold design based on your 3D drawings, accounting for material shrinkage during curing (typically 1.5–3% depending on silicone formulation)
- CNC machining or EDM (electrical discharge machining) to create the cavity geometry
- Mold finishing and polishing to achieve the desired surface texture
- Trial runs to validate dimensional accuracy and curing parameters
Mold costs vary with size and geometric complexity. A single custom mold can range from hundreds to several thousand dollars depending on these factors. However, once the mold is completed, the per-unit cost drops significantly in mass production.
Step 3: Material Selection
Silicone rubber is not a single material but a family of formulations with varying properties. Choosing the right silicone compound directly affects the tray’s performance, durability, and regulatory compliance. Silicone raw material selection directly affects product performance, safety compliance, and cost. For food-contact trays such as kitchenware or baby feeding products, food-grade silicone meeting FDA standards is the industry standard. For European markets, LFGB certification is also widely required.
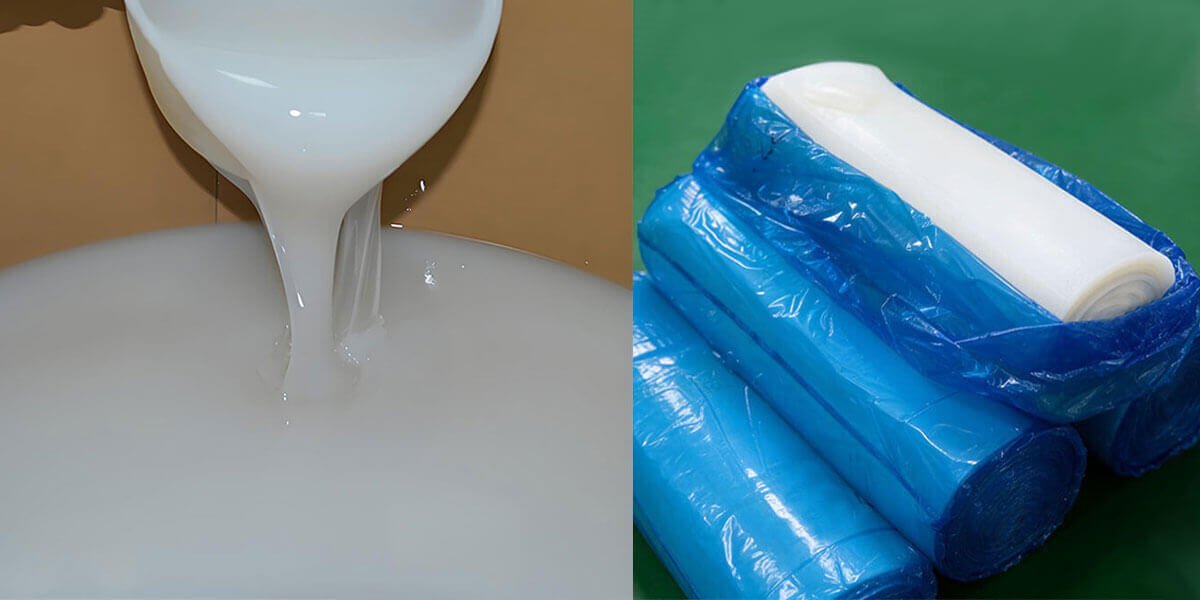
Two main silicone families are used in tray manufacturing: Liquid Silicone vs Solid Silicone
1. Liquid Silicone Rubber
Liquid Silicone Rubber (LSR) is a two-component, low-viscosity system, flowable liquid that is processed through injection molding. LSR offers excellent dimensional stability, repeatability. It cures through platinum crosslinking without by-products.
LSR flows into intricate mold cavities, produces tighter tolerances, and enables faster cycle times. It is commonly used for high-volume production of precise, complex parts.
2. Solid Silicone Rubber
Solid Silicone Rubber (also known as HCR — High Consistency Rubber, or HTV — High Temperature Vulcanizate) is a solid silicone mass processed through compression or transfer molding. It is often used for thicker parts and applications requiring high tear strength.
Has a clay-like, doughy consistency and is typically processed through compression molding. It offers excellent tear strength and is well-suited for thicker, simpler geometries.
Material compounds typically include the base polymer along with fumed silica (for reinforcement), platinum or peroxide curing agents, pigments for color, and functional additives to modify properties such as heat resistance or flexibility.
Material Grade Selection (Critical For Compliance)
- Standard food-grade HTV solid silicone: BPA-free, meets RoHS, for budget kitchen trays
- Platinum-cured LSR liquid silicone: FDA & LFGB certified, low odor, high heat resistance (-40°C ~ 230°C), mandatory for baby, medical and premium food contact trays
Step 4: Production Molding Process
Silicone Injection Molding vs Compression Molding: Which Is Better for Your Private Silicone Trays? Once the mold is ready and the silicone material is selected, production begins. Two primary molding processes are used for custom silicone trays.
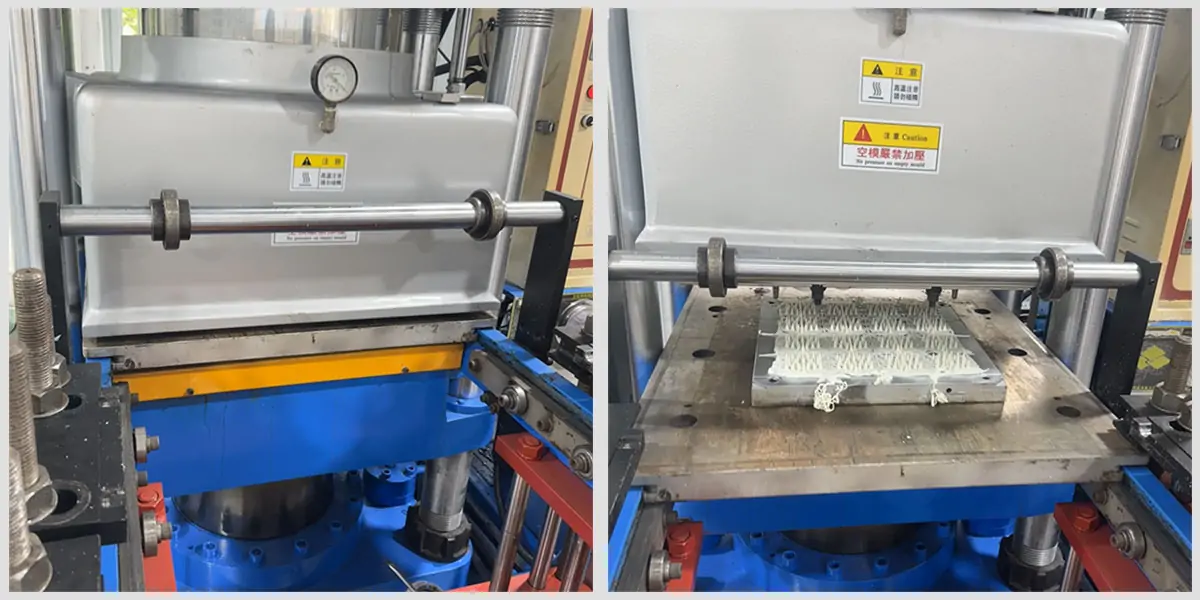
Compression Molding (HTV Solid Silicone)
Compression molding (HCR) is an alternative method where a pre-measured silicone blank is placed into an open mold cavity. The mold halves are closed under hydraulic pressure, and heat cures the material into its final shape. This method is suitable for simpler geometries and lower production volumes.
In compression molding, a pre-weighed amount of solid silicone rubber (HCR) is placed into the open lower half of the heated mold. The upper mold half closes under pressure, forcing the silicone to fill the cavity. Heat and pressure cure the silicone, typically in cycles lasting 3 to 8 minutes depending on part thickness and material formulation.
Compression molding offers lower tooling costs compared to injection molding and is well-suited for medium-volume production runs or parts with simpler geometries. It requires manual loading of the silicone charge and removal of finished parts, which makes it less automated than injection molding.
- Advantages: Low initial steel mold cost, works for large flat trays, flexible cavity layout changes.
- Limitations: Semi-manual operation, longer single cycle time, higher labor cost for ultra-large bulk orders.
- Best fit: Custom soap trays, large baking mats, low-to-medium volume private label runs.
Silicone Compression Molding Workflow:
Pre-weigh mixed solid silicone compound → place into open heated mold → close mold with hydraulic pressure → heat cure → demold and trim flash.
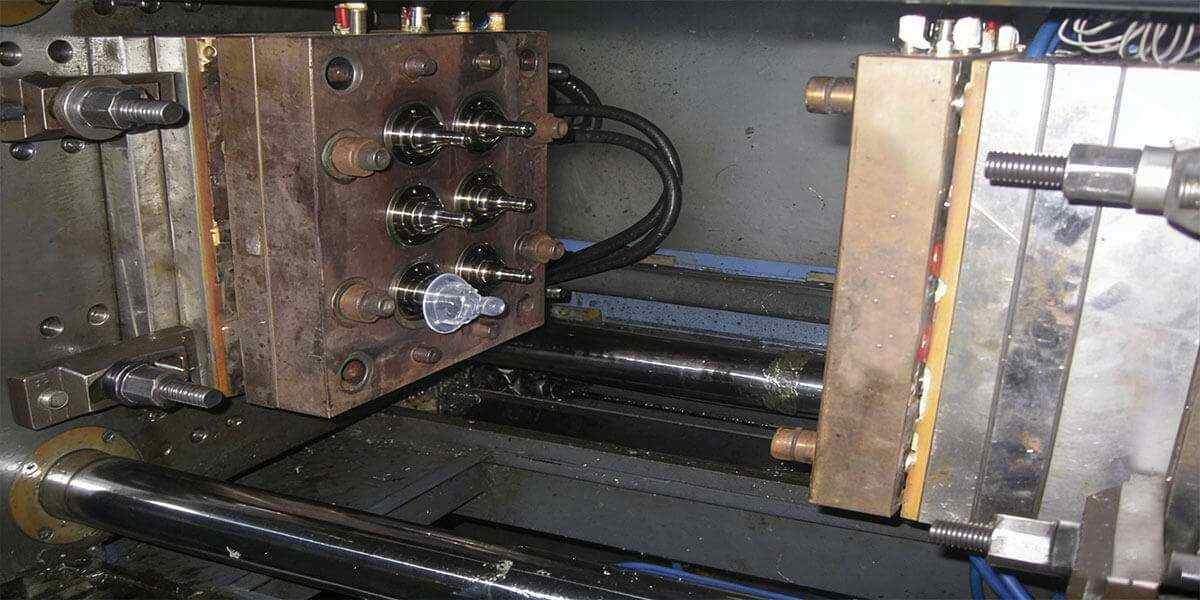
LSR (Liquid Silicone Rubber) Injection Molding
Liquid Silicone Rubber Injection molding (LSR) is the most common method for silicone trays, particularly for products requiring fine detail and consistent quality across high volumes. The process involves a metering system that automatically releases two liquid silicone components at a 1:1 ratio. The material is mixed, injected into the heated mold cavity, and cured under controlled temperature and pressure. After curing, the mold opens and finished parts are ejected.
In liquid injection molding, two liquid components of LSR are metered, mixed, and injected directly into the closed mold cavity under pressure. The mold is heated, causing the LSR to cure rapidly, typically in 30 to 90 seconds per cycle depending on part size and complexity.
Injection molding is highly automated, produces precise, consistent parts, and minimizes material waste because all curing occurs within the mold. However, tooling costs are higher due to the tighter tolerances and more complex mold designs required.
The injection molding process requires control over several critical parameters: mold temperature, injection pressure, curing time, and material mixing ratios. Consistent monitoring of these variables ensures proper curing and dimensional stability.
- Advantages: Fully automated line, consistent product precision, clean flash-free edges, high-speed mass output, ideal for baby/food premium trays requiring post-curing for FDA compliance.
- Limitations: Higher upfront steel mold investment than compression molds.
- Best fit: Small multi-cavity ice trays, baby food silicone molds, high-volume Amazon private label stock.
LSR Injection Molding Workflow:
Automated 1:1 A/B liquid silicone mixing + vacuum deaeration → high-pressure injection into heated steel mold → rapid platinum curing → auto demolding.
Process selection depends on the projected annual volume, part complexity, dimensional tolerance requirements, and budget. Compression molding is generally more cost-effective for lower volumes and simpler designs, while LSR injection molding becomes more economical at higher volumes where cycle time and automation provide significant advantages.
Step 5: Demolding and Post-Processing
Once the tray has cured, it is removed from the mold. Post-molding operations may include:
- Deflashing: Removal of excess material along mold parting lines
- Logo application: Using screen printing, pad printing, laser engraving, or embossed/debossed mold features
- Surface finishing: Additional treatment if specified
- Visual inspection: Checking for surface defects such as air bubbles, flash, or incomplete curing
Molding Cycle Execution
Technicians lock fixed temperature, pressure and curing time parameters matched to your approved sample; in-line QC inspectors pull random trays every 30 minutes to check size, bubbles, deformation and surface defects.
Post-Curing (For Premium Food/Baby Trays)
Platinum LSR silicone trays for food contact undergo secondary oven baking (160°C for 2–4 hours) to remove residual volatile substances, meeting strict international food safety standards. Compression molded household trays skip this step unless client specifies compliance upgrades.
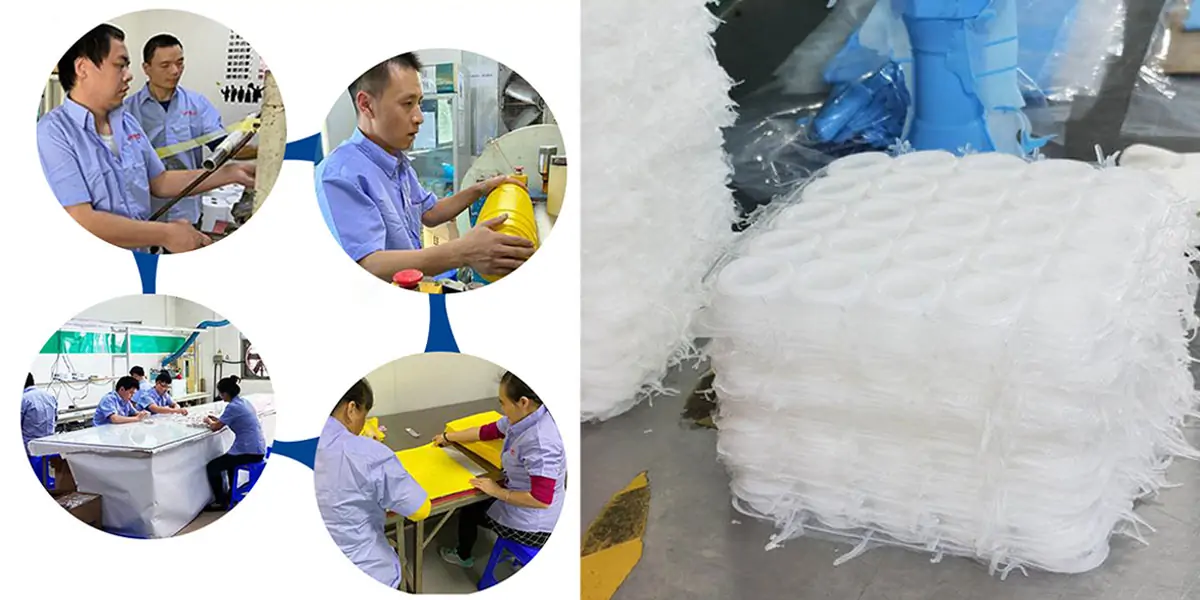
Deflashing & Surface Finishing
Flash excess silicone is trimmed manually or via cryogenic deflashing machines for smooth edges. Trays are washed with neutral detergent and fully dried to remove production dust before branding.
Quality control inspections at this stage identify any non-conforming units before packaging.
Step 6: Quality Control and Testing
Reliable manufacturers implement multi-stage quality control systems that begin with raw material inspection and continue throughout production. Key quality checks for silicone trays include:
- Dimensional inspection: Verifying thickness, cavity dimensions, and critical tolerances using digital calipers or optical measurement systems
- Hardness testing: Using a durometer to confirm Shore A hardness meets specifications
- Visual examination: Detecting surface defects, incomplete curing, or contamination
- Mechanical testing: Tensile strength, elongation, and compression set tests as required for the application
- Certification compliance: Ensuring materials meet FDA, LFGB, RoHS, or other required standards
Manufacturers operating under ISO quality management systems maintain full traceability from raw material to finished product, with documented process controls and calibration records.
Regulatory testing requirements:
For food-contact silicone trays, testing typically includes migration testing (measuring whether any substances transfer from the silicone to food simulants), heavy metals analysis, and thermal stability testing across the intended temperature range. Reputable manufacturers maintain batch traceability and can provide third-party test reports upon request.
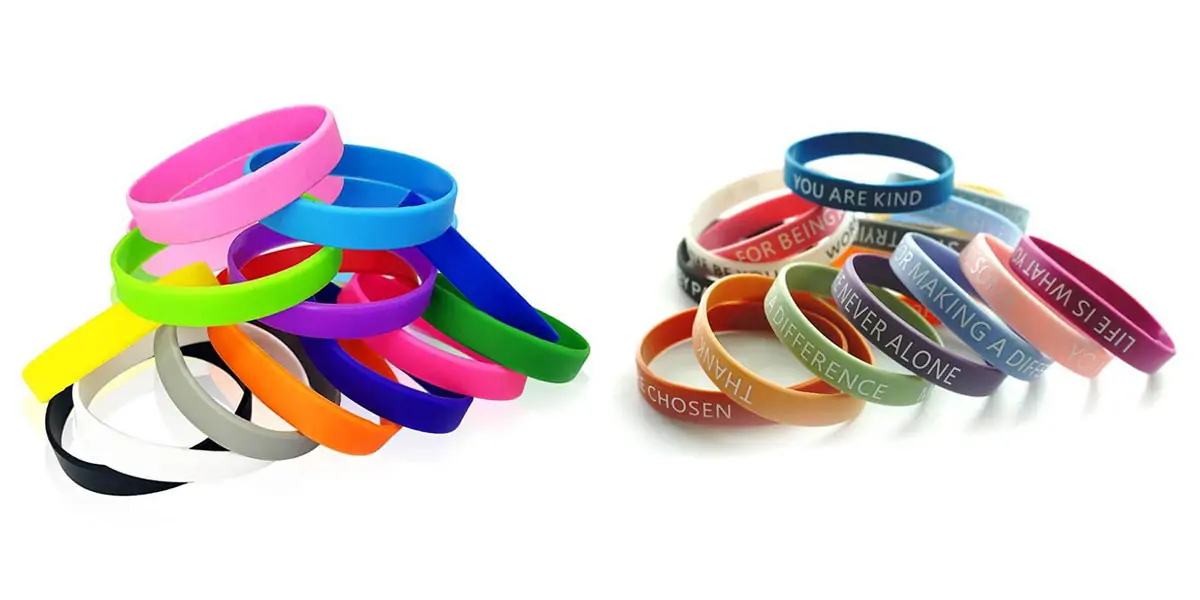
Step 7: Private Label Branding & Custom Packaging (Your Brand Identity)
This stage turns generic silicone trays into exclusive private label merchandise, with multiple customizable branding methods for different budget tiers:
Emboss/Deboss Logo (Most Cost-Effective)
Brand logo carved directly into mold cavities—permanent, no wear during washing, no extra unit cost after mold creation.
Silkscreen Printing/Pad Printing
Color logo or brand slogan printed on tray surfaces; suitable for short text, single-color graphics. Note: Printed layers may wear over long-term dishwasher use (objective factual limitation, no misleading durability claims).
Laser Engraving
Permanent, wear-resistant brand marking without ink; ideal for high-end kitchen silicone tray lines.
Custom Packaging Customization & Logistics
OEM options: custom color boxes, hang tags, shrink sleeves, brand sticker labels, poly bags printed with your logo, master carton outer printing.
Finished silicone trays are packaged according to your specifications before shipment. Common packaging options include individual poly bags, custom boxes, retail-ready displays, or bulk cartons for wholesale distribution.
Common packaging configurations for silicone trays include:
- Polybags (individual bags per piece).
- Bulk pack (multiple pieces per carton without individual bags).
- Blister packs for retail display.
- Custom retail boxes with printed branding.
For export shipments, silicone trays are packed into export cartons that meet international shipping standards. Cartons are palletized and shrink-wrapped for container loading.
Shipping methods depend on order size and destination. Small orders typically move by air express (DHL, FedEx, UPS), while larger shipments travel by sea freight to reduce per-unit costs.

Silicone products do not require special temperature-controlled shipping under normal conditions, as cured silicone remains stable across a wide temperature range. However, storage should avoid prolonged exposure to direct ultraviolet light, which can cause gradual surface degradation over extended periods.
Conclusion
Creating private silicone trays is a scalable product line opportunity for homeware, baby and pet brands when following a standardized, factory-backed OEM workflow. Every stage directly impacts your product cost, safety compliance and market competitiveness.
Bringing Your Private Silicone Trays to Market
Successfully launching a private silicone tray product requires careful coordination across design, tooling, material selection, and quality assurance. Working with an experienced manufacturer that offers end-to-end support (from design guidance through mold development, mass production, and packaging) streamlines the process and reduces risks.
At Siliconexy, we specialize in custom silicone tray manufacturing for brands worldwide. Our capabilities include mold design and fabrication, liquid silicone injection molding, food-grade material sourcing with FDA compliance, and comprehensive quality control. Contact us to discuss your project requirements and receive a detailed quotation.